An Early Summer Secret: Fermented Garlic Scapes
Summer
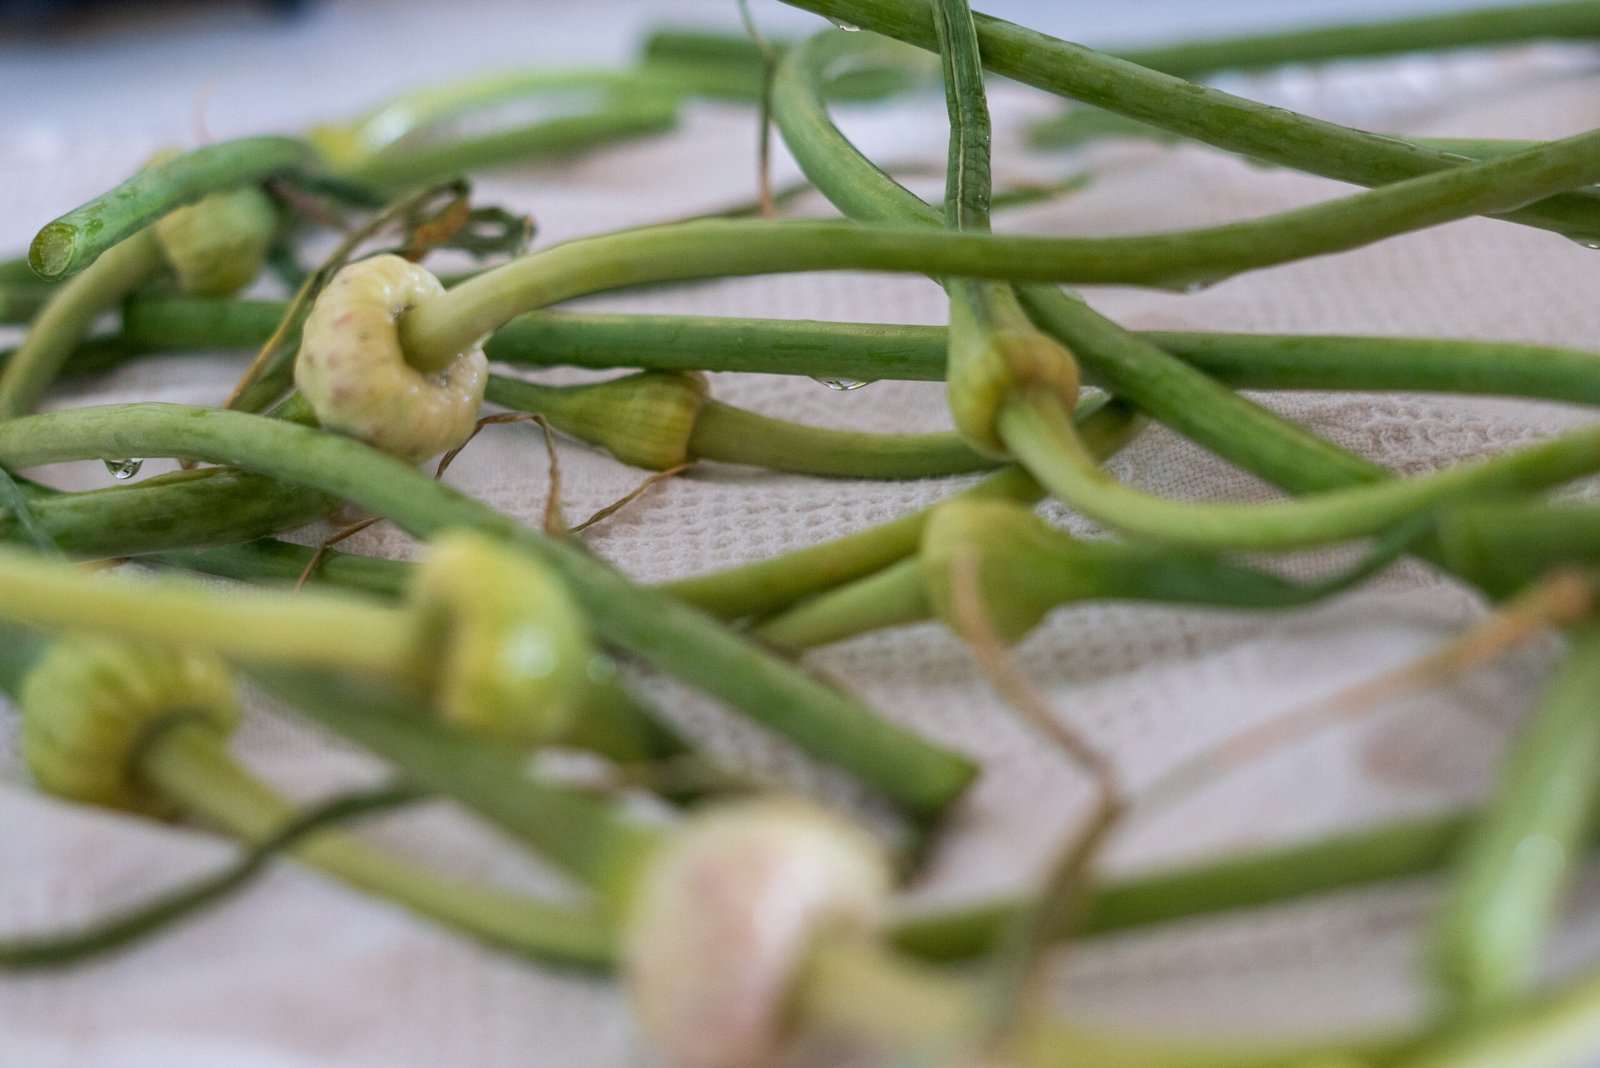
A rare sight at my local farmer’s market: a box of bright, curling green garlic scapes, ready for pickling. I’d been curious to try preserving scapes, and the market offered me the perfect opportunity. These whimsical stalks are the flowering stems of the garlic plant, trimmed in early summer to help the bulbs grow stronger below the soil.
Pickled garlic scapes have a sea-like beauty, resembling stalks of kelp drifting in their jar. Though they aren’t the garlic bulb we’re most familiar with, scapes hold the same pungent flavor and can be used anywhere you’d add garlic. A visually apealing and flavorful ferment, pickled scapes bring spark to Scandinavian-style open-faced sandwiches, add vibrancy to bean dips, or infuse broths and stews with garlicky depth.
Recipe: Pickled Garlic Scapes
Ingredients
- Fresh, tender garlic scapes (they should bend easily, avoid woodier stalks)
- Non-iodized salt (such as sea salt or kosher salt)
- Filtered or dechlorinated water
Equipment
- Canning jar (quart-sized or whatever fits your batch)
- Kitchen scale
- Fermentation weight (optional but helpful)
- Airlock lid (I use Masontops)
Instructions
- Clean your jar thoroughly using hot soapy water, a dishwasher cycle, or by sanitizing with boiling water.
- Weigh your empty jar and note the weight for later.
- Prepare your water: Filter enough to fill the jar, or boil tap water for 15 minutes and let it cool to room temperature. (Chlorine can inhibit fermentation, so use filtered or boiled water for a healthy ferment.)
- Wash and trim the garlic scapes.
- Pack the scapes into your jar, curling them around the sides to help them stay submerged.
- Add the water, leaving about an inch of headspace at the top.
- Weigh the filled jar, then subtract the jar’s empty weight to get the total weight of the scapes and water. Multiply that number by 0.02 to calculate 2% salt by weight (you might prefer a slightly saltier brine, but don’t go below 2% or you risk mold.)
- Weigh out your salt and add it to the jar. Seal the jar temporarily with a leak-proof lid and shake gently to dissolve the salt. Remove the lid afterward.
- Add a fermentation weight or a small zip-top bag filled with water to keep the scapes submerged.
- Close with an airlock lid to allow gases to escape during fermentation.
- Ferment at room temperature for 3–5 days. Start tasting after day 3. Once the brine is pleasantly sour and the scapes have a slight tang, move the jar to the fridge to slow fermentation.
Notes
- Pickled garlic scapes will keep in the refrigerator for at least a month, and often much longer.
- The scapes will continue to mellow in flavor over time.
Serving Ideas
- Blend into homemade hummus or white bean dip.
- Dice into potato salad, egg salad, or tuna salad.
- Use in place of raw garlic for a milder punch in cold dishes.
- Add to soups, stews, or pasta (note: cooking will reduce the probiotic content, but not the flavor).
Reflection
In late spring or early summer, keep an eye out at your local farmer’s market for a basket of curly green scapes. These garlic flower-stalks are fleeting, but pickling offers a way to preserve their vibrant flavor and spirit long past their season. Try this simple ferment as part of your summer pickling ritual, one more way to savor the abundance of the harvest.
Have a favorite way to use pickled garlic scapes? Leave a comment and share how you enjoy them.